Fake lashes
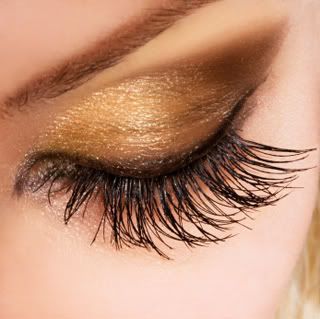
are a major fashion trend these days. They make your eyes look very sexy and glamorous. We're not all born with naturally long and full lashes but we certainly love the look. For those of you who might be allergic to the glues, can’t afford them, or just find the whole task of applying them daunting and time consuming, the steps below will give you that false lash look you’ve been dying for!
Things you'll need:
1. Eyelash curler
2. Blow dryer (optional)
3. Two different kinds of mascara (they can be the same brand but need to be a different type)
3. Eyelash comb
Step 1
Curl your lashes
The first thing you need to do is start by curling your lashes with your
eyelash curler
. Make sure you get as close to the base as possible. Once you have the curler on your lashes just give it a few good pumps and release. Do this twice for a nice 'high and long' lash look.
Tip: Make sure when you put your lashes in the curler that you use your fingertip to even them out a bit so they separate nicely.
Optional: Use a
blow dryer
to heat your eyelash curler for about 10 seconds before curling. Make certain to check that it's not too hot before putting near the eye. It should be warm not hot. Using a blow dryer to heat up your eyelash curler is the same concept as using a
curling iron
to curl your hair. It just makes for a fast way to curl them.
Step 2
Apply first mascara
The next think you want to do is apply your first type of
mascara
. Get as close to the base as possible then work your way up in a side by side motion. This motion helps to get really great coverage on the lashes. You'll want to put at least 3 or 4 coats of your first mascara on and then let it set for about two minutes. Don't let it dry completely before applying the second type of mascara. Your lashes need to still be a little tacky so that the second mascara can bind with the first and not cause unwanted clumping.
Step 3
Apply second mascara
Apply your second type of mascara using the same techniques and instructions as in step 2 but only apply 2 or 3 coats.
Step 4
Press lashes
Once you've applied the last coat of your second mascara, wait until it's almost dry and use your fingertips to press your lashes up and back very gently toward the eye. This will help shape them into a higher position.
Step 5
Comb your lashes
Use your
eyelash comb
to separate your lashes to your desired position of them.
Tip: Use a metal eyelash comb for better separation results.
If you find that using fewer or more coats of mascara works better for you then by all means change it up.
Not all eye shapes are the same, nor are all lashes. It may take a few times to get your desired results but with a little practice you should be able to create the false eyelash look in no time.

